
High-Precision OCR for Medical Device Labeling with RF-DETR and Gemini 2.5 Flash
Learn how to build a two-stage Vision Agent using RF-DETR and Gemini 2.5 Flash for medical device labeling.
Ensuring the integrity of medical hardware is done by balancing precision and compliance. In the healthcare manufacturing industry, the labeling stage is the most critical window for quality control. A single misprinted decimal point on a blood glucose monitor or an illegible batch number on a pulse oximeter can lead to life-threatening medical errors and the ultimate manufacturer's nightmare: a massive medical device recall.
Historically, verifying Optical Character Recognition (OCR) on device screens and labels relied on manual inspections, a process prone to human fatigue and oversight. Today, computer vision is transforming this landscape. By leveraging AI, manufacturers can implement a 24/7 automated system that catches any labeling inconsistencies.
In this guide, we will explore how an AI-powered system can verify the accuracy of medical device displays, focusing on a method to extract and validate critical health data. This technique directly tackles the need for zero-error manufacturing.
High-Precision Medical OCR: Two-Stages
In this guide, we are creating a dedicated safety agent for medical devices. Rather than relying on a single model, we use a Vision Agent that delegates tasks to specialized eyes and a reasoning brain:
- Stage 1: The Detector (Perception Layer): You will train an RF-DETR model to act as the eyes. Its objective is to scan the hardware and pinpoint the exact coordinates of critical metrics like oxygen saturation, blood pressure, or glucose levels.
- Stage 2: The Inspector (Reasoning & Extraction Layer): You will build a Vision Agent using Gemini 2.5 Flash. This serves as the "brain" that handles OCR and clinical validation simultaneously, ensuring that what the device says is both legible and medically plausible.
Step 1: Log in to Roboflow
Prepare your workspace by logging into Roboflow. If you are new to the platform, you can create a free account to begin managing your healthcare-focused vision projects.
Step 2: Import the Dataset
Effective AI starts with specialized data. We will utilize the Medical Device Detector dataset from Roboflow Universe, which is optimized for identifying digital readouts and diverse screen layouts.
Find the project on Roboflow Universe and select "Fork Project" to pull the images into your local environment for custom training.
Step 3: Labeling and Annotation
If you are using custom hardware photos, use Roboflow’s annotation tools to define your targets. Draw precise bounding boxes around specific data zones, labeling them as "bp" (blood pressure), "gluco" (glucose), or "spo2" (pulse oximetry).
Step 4: Train the RF-DETR Object Detection Model
We are leveraging the RF-DETR architecture for detection. As the first real-time transformer model to exceed 60 mAP, it provides the high-stakes precision required for medical applications.
- Launch Training: Head over to the "Train" dashboard.
- Choose Your Framework: Pick the specific model architecture that fits your project needs.
The Logic Behind RF-DETR Small: While larger architectures exist, the "Small" version is the strategic choice for this pipeline:
Efficient Triage: The model acts as a filter, doing the heavy lifting of "finding" the data so the LLM can focus strictly on "understanding" it.
Factory-Floor Deployment: It is lightweight enough to run locally on edge hardware like an NVIDIA Jetson, keeping data processing on-site.
Rapid Processing: Manufacturing lines move fast; this model ensures inspections happen in milliseconds to avoid production delays.
Step 5: Configure your “Train/Test split”
When preparing your medical dataset, we recommend a 70/20/10 split: 70% for Training, 20% for Validation, and 10% for Testing.
- 10% Testing (The Final Grade): These images provide an unbiased evaluation of how the system will perform on a medical device it has never seen before.
- 20% Validation (The Practice Exam): Used during the training process to tune hyperparameters. This helps prevent overfitting, ensuring the model learns the concept of a display rather than just memorizing images.
- 70% Training (The Learning Phase): Provides the RF-DETR Small model with enough examples of various screen glares and fonts to recognize patterns effectively.
Step 6: Apply Preprocessing and Augmentations
To ensure our system is resilient to factory lighting and reflective screens, we applied specific preprocessing and augmentation steps.
Preprocessing
- Auto-Orient: Strips orientation metadata for consistent input.
- Isolate Objects: Focuses the model strictly on the labeled regions.
- Resize (Stretch to 512x512): Balances text detail with computational speed.
- Auto-Adjust Contrast: Uses contrast stretching to make digital text "pop" against dark screens.
Augmentations (Outputs per training example: 3)
- Flip (Horizontal) & 90° Rotate: Teaches the model to recognize labels regardless of how the device is placed on the conveyor.
- Crop (0% Min, 20% Max Zoom): Simulates the device being at slightly different distances from the camera.
- Rotation (±15°): Accounts for devices not being perfectly aligned with the sensor.
Step 7: Evaluate Model Results
Once training is complete, we use the Production Metrics Explorer to evaluate our system. Our medical detector achieved a mAP@50 of 96.0%. At an Optimal Confidence of 84%, the model reached an F1 Score of 97.8%:
- Precision (100.0%): When the model flags a label, it is correct every single time, reducing false stops on the line.
- Recall (96.0%): The model captures nearly all relevant data fields, though it occasionally misses a small "spo2" reading.
Model Improvement Recommendations:
- Increase spo2 Samples: Since the spo2 class had the most false negatives, adding more images of oxygen saturation displays will improve recall.
- Tiling for Small Objects: If text is microscopic, implementing SAHI (Slicing Aided Hyper Inference) can help the model detect tiny digits.
- Balance Class Distribution: The "bp" class was underrepresented (20% of the dataset). Adding more blood pressure samples will ensure the model is equally proficient across all medical metrics.
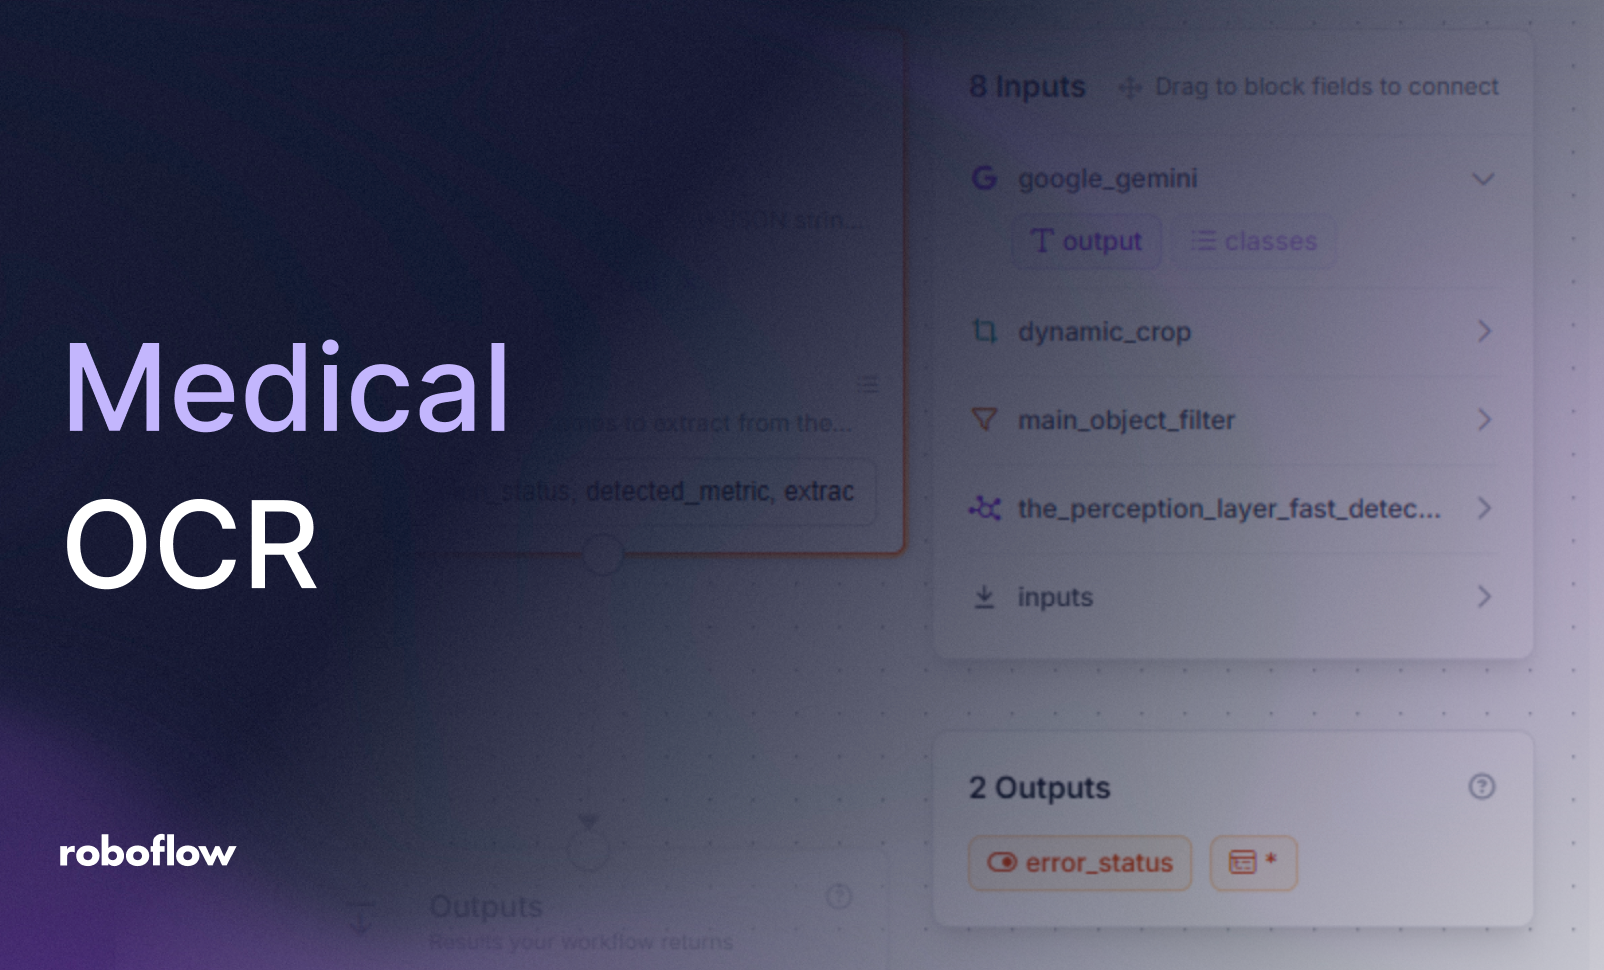
Step 8: Constructing the Vision Agent Workflow
Training your model is only the first half of the equation. To automate the "thinking" process, we will build a Roboflow Workflow. This architecture follows a "Focus and Verify" pipeline, moving from raw pixels to structured medical insights through five specialized blocks. Here’s the workflow made in this article.
- Initialize the workflow
Start by setting up the logic environment within Roboflow Workflows.
- Navigate to the Workflows tab on the left sidebar.
- Select "Create Workflow" and click the "Build Your Own" template to start with a blank, customizable workspace.
- The Perception Layer: RF-DETR Detection
The workflow begins with the RF-DETR model we trained. This block acts as the initial "Spotter," scanning the entire frame to identify the coordinates of the medical device and its display. It provides the spatial context needed for the rest of the agent to function.
- Precision Refinement: Detections Filter
In a busy manufacturing environment, there might be background noise or multiple devices in view. We add a Detections Filter. This ensures the system ignores low-probability detections and focuses strictly on the most prominent, clear-view device for inspection.
- The Focus Step: Dynamic Crop
OCR accuracy is heavily dependent on pixel density. Rather than asking the AI to read a small screen from a wide-angle shot, we use the Dynamic Crop block. This takes the coordinates from our filter and "zooms in" on the screen, passing a high-resolution, tightly-framed image to the reasoning engine.
- The Reasoning Engine: Gemini 2.5 Flash
Now, we introduce the Inspector. By using a Vision Agent block (Gemini 2.5 Flash), we perform extraction and clinical validation in a single step.
By using the Model Playground, you can compare different multimodal models side-by-side. Our testing confirmed that Gemini 2.5 Flash is currently the top-ranked model for OCR accuracy and speed. It excels at reading small, technical text and structured data, which is why it is our choice for the Reasoning Layer.
This multimodal block analyzes the high-resolution crop to extract text while also applying medical guardrails to check whether the numbers are physiologically plausible and whether the units match the metric.
- First, drag in a Gemini block and select “Structure Output Generation” as the task type
- Model: Select Gemini 2.5 Flash.
- Next, set a prompt for the output structure. You can use this:
- Data Standardization: JSON Parser
To make this system useful for a factory dashboard or database, we need to turn a conversational AI response into hard data. The JSON Parser block flattens the analysis into a predictable, comma-separated list of fields:
verification_status, detected_metric, extracted_value, is_physiologically_possible, format_match, visual_clarity, explanation, required_action
- Test and deploy
Click the "Run Preview" button to stress-test your logic. This is where you verify the system's clinical reasoning; testing its ability to distinguish between a valid medical reading and logic-defying bugs or abnormalities.
Conclusion: Verified Medical Labeling with Roboflow
True quality control is about validating data. By splitting your workflow into a fast RF-DETR detector and a Gemini reasoning agent, you create a "double-check" system. This ensures that every medical device leaving your line is displaying data that is both legible and logically accurate.
Ready to secure your production line? Sign up for a free Roboflow account and explore medical datasets on Universe today.
Written by Aarnav Shah
Sign in to highlight and annotate this article
Conversation starters
Daily AI Digest
Get the top 5 AI stories delivered to your inbox every morning.
More about
geminiagent

Automating Your Playtest Triage with AI
As an indie developer, you've felt it: the flood of unstructured playtest feedback. "I fell through the floor," "music is awesome," "boss is too hard." Manually sorting this into actionable tasks steals precious development time from actually fixing the game. One Key Principle: The Categorization-Prioritization Pipeline The core of effective automation is a two-stage AI pipeline. First, you categorize raw text into clear buckets. Then, you score and prioritize those categorized items. This transforms chaos into a structured task list. A tool like Zapier can act as your automation hub. It connects your feedback source (like a Google Form or Discord channel) to an AI agent for processing, then routes the output to your project management tool, such as Trello or Jira. The Pipeline in Action A

Knowledge Map
Connected Articles — Knowledge Graph
This article is connected to other articles through shared AI topics and tags.
More in Models


How China is transforming Hong Kong into a strategic hub
Hong Kong’s first five-year plan is expected to guide the city’s future development. Never before has the city attempted a comprehensive plan in the style of mainland China, signalling a major shift in how it approaches long‑term growth. The real question is not why a laissez‑faire economy must adopt a new model but how this transformation will unfold. This exercise is unprecedented on multiple fronts. First, it departs from Hong Kong’s long-standing reliance on market forces and incremental...

Discussion
Sign in to join the discussion
No comments yet — be the first to share your thoughts!